Your AprilBeacon can be either iBeacon or Eddystone now!
The new AprilBeacon support iBeacon or Eddystone now. Here’s a simple guide for how to switch to eddystone beacon. 新版AprilBeacon已经可以支持iBeacon或Eddystone广播方式。下面是一个简单的介绍,如何切换到eddystone beacon模式。
注意事项 仅支持.xls格式。 其中number编号最好写成1,2,3….。 major,minor十进制 0-65535。 power表示修改发射功率,值写成1,2,3,4分别代表发射功率为0dbm(约30m),4dbm(约60m),-6dbm(约20m),-23dbm(约5m)。 advInterval表示广播频率,单位是100ms。eg:如果你要修改成为300ms,此处填3。广播频率最好别超过1500ms,超过1500ms之后会很难连接上beacon。 password表示修改设备密码,12位。一般情况下不建议修改。 label表示自定义标示符,自己用来区分。 beaconName 在设备修改成功后,会对应beacon的名字。 excel里面配置参数可以为空,表示不修改。 excel示例表格
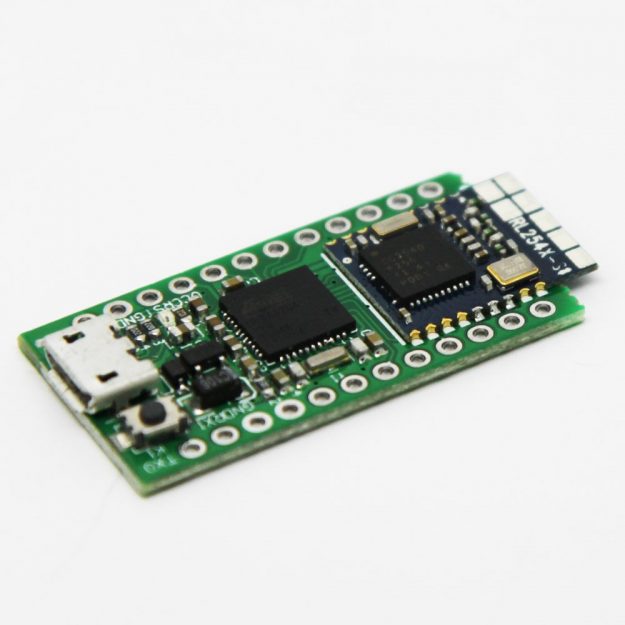
The ZeroBeacon V2.1 can work as iBeacon receiver / scanner. Please refer the wiki for more information. ChangeLog for V2.1 Response “\r\n” at the line end for AT commands Fix a bug for configure iBeacon proximityUUID Add AT commands for scan iBeacon
微信摇一摇周边配置教程 摇一摇助手使用教程 摇一摇助手下载 启动应用时,如你未开蓝牙,应用将提示你将蓝牙打开,如不开蓝牙,软件无法正常工作 启动蓝牙后,App将自动扫描周围的iBeacon设备,并以列表形式展现。 列表中展示了设备uuid、设备major、设备minor以及设备ID,其中设备ID最后的四位可以与设备上贴的ID最后四位相对应,如图所示AprBeacon_005A,其中005A可以与设备上贴的ID最后四位进行对应。
微信摇一摇周边配置教程 摇一摇助手使用教程 如何开启蓝牙 如果你没有打开蓝牙,助手会提示你开启蓝牙。你可以打开控制中心,点击蓝牙图标即可开启蓝牙服务。或者你也可以在设置->蓝牙中点击开启蓝牙的开关来开启蓝牙。
The BlueDuino Rev2 is an Arduino compatible microcontroller development board based on the ATmega32U4 IC with Bluetooth 4.0. a.k.a. Bluetooth Low Energy (BLE), built in. Just plug in the board and your ready to start programming! It’s the easiest way to get Bluetooth 4.0 in your project! Buy it on tindie.
The built-in esp8266 module of Cactus Micro need to upgrade firmware for support HTTP post request. There’s a little buggy for send NEWLINE to remote server. Upgrade the firmware for esp8266 Download firmware ai-thinker-0.9.5.2-9600.bin. Change the serial port to hardware serial. Use USB to UART converter to upgrade firmware. You can also refer this link…
An easy used USB to UART converter for TinyESP. You just need plug-in TinyESP to the converter, then start to upload firmware. All pinouts is extracted. It’s very good for program NodeMCU / Arduino. Buy it from tindie
We have tested to make Cactus Micro as ESP8266 programmer. It works very well. To do the work, you need make some jump wires. Steps for hacking For upload firmware to ESP8266, we need more stable connection for UART. So change the serial port to hardware serial port first. Add a jump wire ESP8266 GPIO0…
Cactus Micro communication with ESP8266 with SoftwareSerial port (RX: 11, TX: 12) default. We can change it to the hardware serial port Serial1. Prepare tools A knife A Solder Soldering the jumper Step1. Cut the jumper in the red square Step2. Soldering the jumper to other side You’re done. Now the Cactus Micro communicate with…
For bulk order, please contact us for discount. zhengzeyi@aprbrother.com or skype: aprilbeacon or wechat: 13661293819 Dismiss