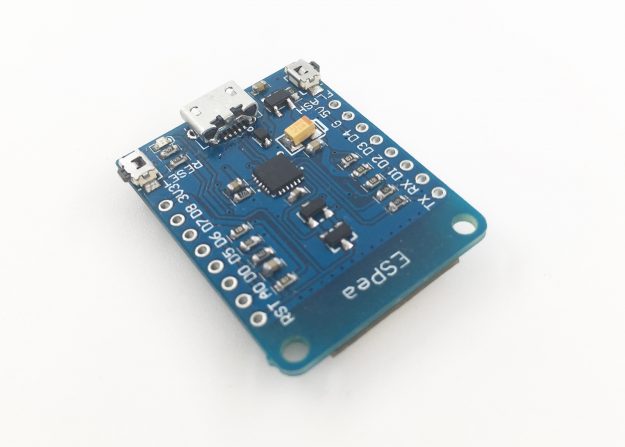
Siri HomeKit Controlled ESP8266 Lock

How to build a HomeKit / Siri controlled election lock with ESPea and Relay shield. It’s a cheap project for smart lock. I built a custom HomeKit / Siri controlled election lock recently. It need ESP8266/NodeMCU, Raspberry PI and a Electric Lock 12V DC. See more information at the instructable
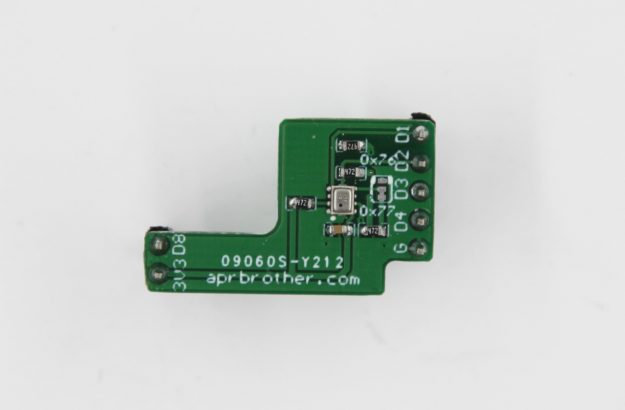
New Products: More Shields For ESPea

BMP280 shield for ESPea. The BMP280 sensor can measure barometric pressure and temperature with very good accuracy. This shield is good match with ESPea, ESPea32. It also has nice size. Buy Link ESPea Relay Shield for ESPea. This is the ESPea Relay Shield, an add-on board that allows your ESPea to control higher voltage and current loads…

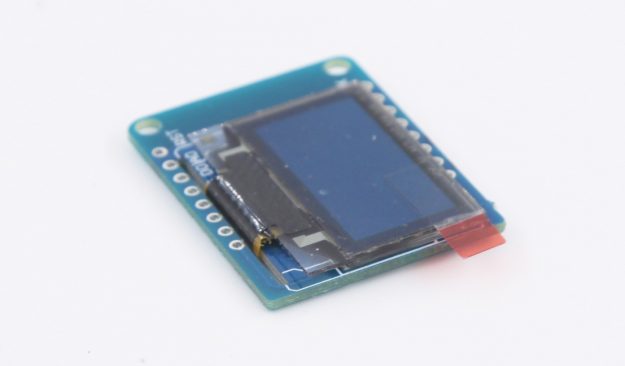
New Product: OLED Shield For ESPea

128×64 pixels OLED Shield with I2C. It adds a 128×64 monochrome OLED to ESPea main board. The OLED uses only the two I2C pins on the ESPea, and you can pretty much stack it with ESPea, even ones that use I2C since that is a shared bus. Buy Link. Prototype Shield For ESPea is also…

New example code for Cactus Micro from IOTLink

The following example in C uses the REST interface with a secure SSL configuration to exchange AP configuration with the onboard ESP8266. The board is a Cactus Rev 2. The sketch updates the status every 60 seconds in the IoTLink dashboard. click on Learn More, then Examples, there are examples for Cactus rev 2 using…

New Product Available: ESPea Dev Board

ESPea is a new Wi-Fi development board from AprilBrother technologies. It uses the ESP8266EX chipset as the main micro-controller and supports the Arduino environment. At the ESPea’s heart is an ESP8266 WiFi microcontroller clocked at 80 MHz and at 3.3V logic. This microcontroller contains a Tensilica chip core as well as a full WiFi stack.…

How to fix the http post bug for Cactus Micro

The built-in esp8266 module of Cactus Micro need to upgrade firmware for support HTTP post request. There’s a little buggy for send NEWLINE to remote server. Upgrade the firmware for esp8266 Download firmware ai-thinker-0.9.5.2-9600.bin. Change the serial port to hardware serial. Use USB to UART converter to upgrade firmware. You can also refer this link…

How to change the serial port for Cactus Micro

Cactus Micro communication with ESP8266 with SoftwareSerial port (RX: 11, TX: 12) default. We can change it to the hardware serial port Serial1. Prepare tools A knife A Solder Soldering the jumper Step1. Cut the jumper in the red square Step2. Soldering the jumper to other side You’re done. Now the Cactus Micro communicate with…